The bridging stitch is #10 on my Husqvarna Lily 550,
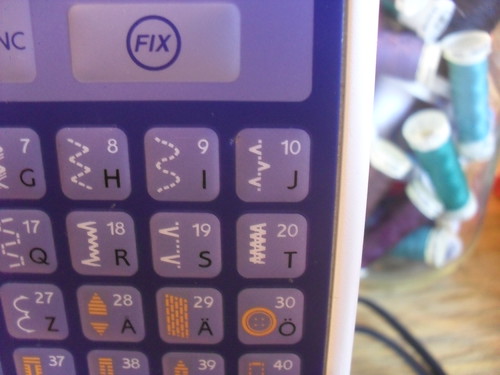
and #31 on my Janome 6600.
This outs me as an extravagant seamstress owning multiple sewing machines, but the Husqvarna officially has a completely worn out motor, which my sewing machine repairman tells me is due to my non-domestic level of use of the machine. Doesn't he know that sewing
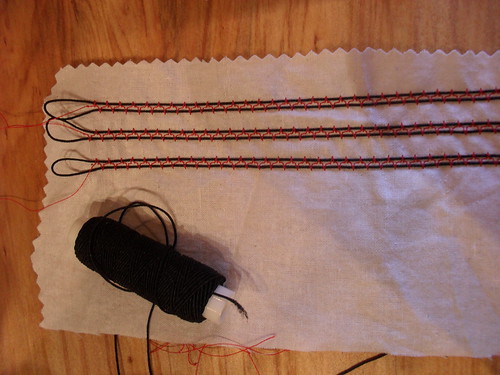
The stitch zig-zags alternately on either side of the needle. In addition to shirring, I use this stitch for fold-over elastic application on underwear and sportswear.
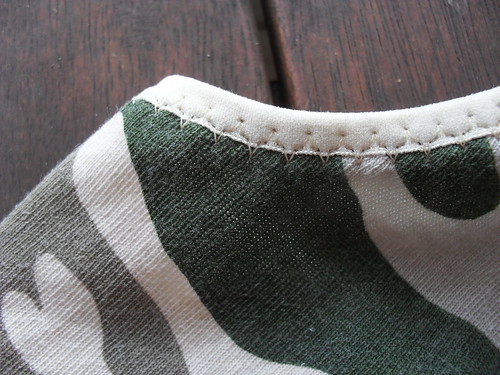
Once upon a time when I dabbled in heirloom sewing, I also used it to attach laces to each other. My Husqvarna manual says " The bridging stitch is suitable for joining two pieces of fabric with folded edges. Leather and vinyl are joined by butting the edges close to each other using the bridging stitch. Also use to join lace and ribbon."
The real benefit of using the Husqvarna for shirring is the buttonhole foot, C. This foot has a small hook at the back for corded buttonholes, and also has a slight groove under the inside edge of the place to hold the cord arms away from each other.
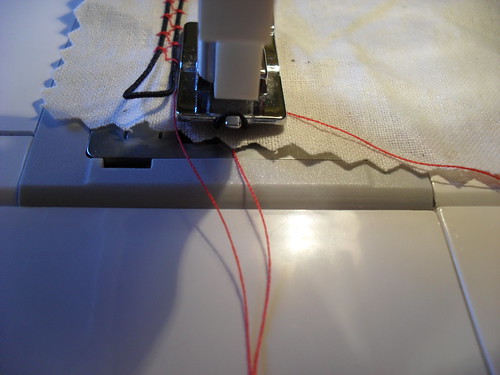
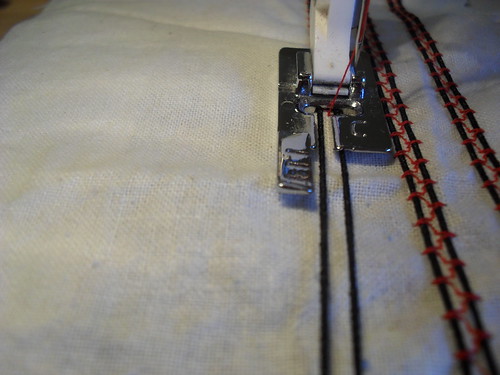
This means you can sew over two strands of elastic at once, without much danger of catching the elastic in the zig-zag and ruining the shirring, as the elastic is nicely held in place by the foot, provided you hold the elastic in front of the foot under a little tension.
Unfortunately, I do not have an equivalent foot for my Janome.
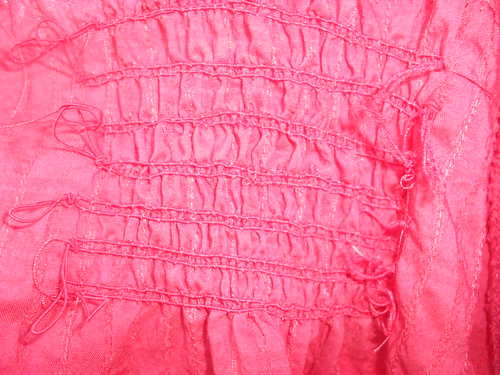
Once I have sewn enough strands of shirring, I have a short cut for distributing the gathering.
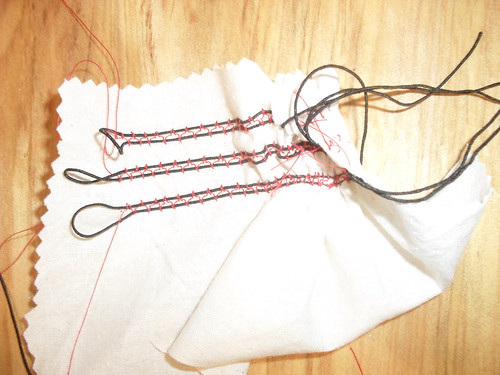
I pull up the elastic quite aggressively at one end.
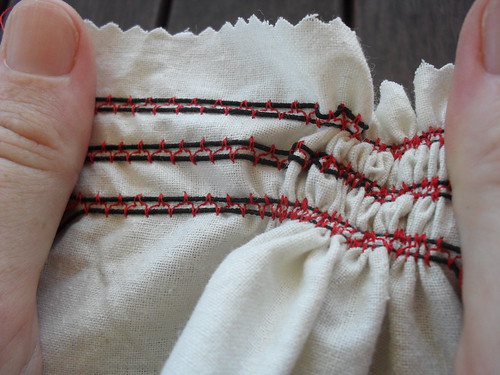
Then I hold the elastic threads firmly at both ends, and pull the fabric firmly side to side.

As the elastic stretches then relaxes again, the gathers distribute reasonably evenly over the whole piece of fabric. Any remaining bunching can be sorted out by repeating the process, or stroking the gathers apart or together as needed to provide even gathering across the desired width.
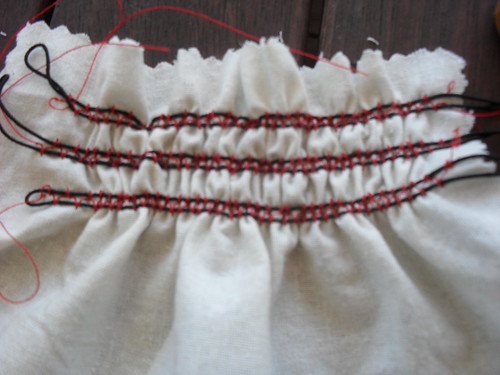
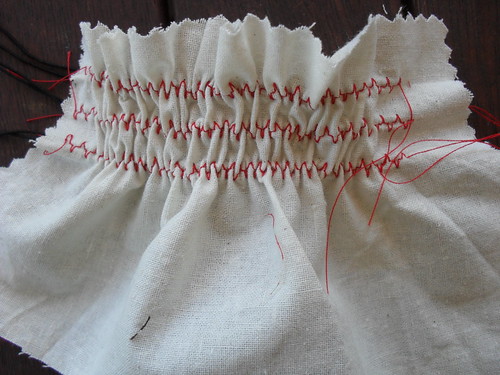
At this point I use very narrow zigzag to stitch vertically across each end of the elastic threads. I then tie off both ends of the shirring.
I find the tying off necessary so that I can wash the finished garment in the washing machine. The loose ends of the elastic tend to fray, and the knots keep the fraying from intruding into the shirred area.
14 comments:
Thank you so much for posting this - it looks much, much easier than any other method of shirring :)
Love your beach cover up!
Thanks...this is so interesting. Burda uses a normal zig zag I think and I just use the elastic in the bobbin but I like your method for use for a better outfit .. I wouldn't bother for a shirred strapless dress I normally make.
Your burda dress with the shirring looks fantastic.
Thanks for the tutorial! I was wondering how this was done! I might have to try this sometime now.
Great info, I never would have thought to use this stitch and the corded buttonhole foot for shirring.
This technique is interesting. I've always used a zigzag stitch with shirring elastic in the bobbin. I like the decorative effect of the black elastic, so if I used your method, I'd have the elastic on the outside of the garment.
Thanks for this post. I've got a Husqvarna too, so I'm keen to try out some shirring with this method. BTW how are the buttonholes on your Husqvarna? Mine are terrible enough (even after having the machine serviced) to consider buying a new machine
Karen, I've done similar but non-elastic couching work with my Brother cording foot (it comes in 3, 5, and 7-groove flavours, I think. I don't have the bridging stitch but I have one that's close enough i think. Thanks for the pictures.
Nice tutorial!
Thank you for the tuturial. I'll give this a go now.
Thanks for this. I just had a go. My buttonhole foot is a lot clunkier than yours, but it does have the grooves for the cords. I have the bridging stitch. It all went very well. I think my daughter needs a shirred summer dress now!
In the past, I have used a zig-zag over the elastic. Sometimes I use my narrow hem foot to keep the elastic straight.
Great tutorial!
This is a great tutorial. It seems easier than winding the bobbin with the elastic thread. Thanks so much!!
Hi Karen, I tried this today and it works a treat with the elastic on the two inner grooves of my 7-groove pintuck foot, using the same stitch on my Brother. Thanks!
wait, I do have a bridging stitch! hopefully a useful foot too (shirring excitement).
Post a Comment