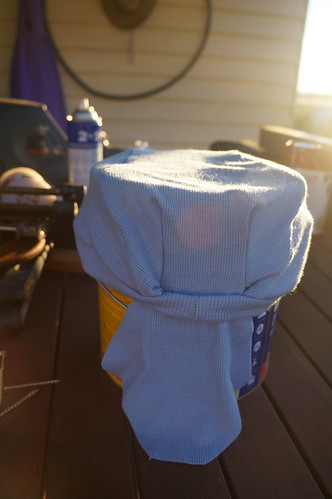
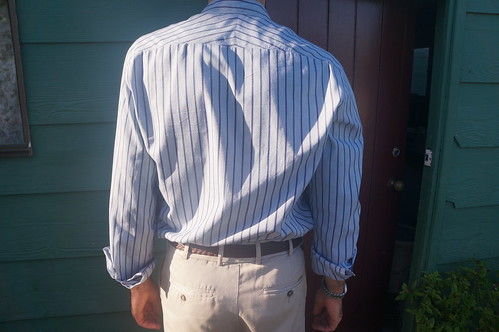
My husband is a terrific sewing supporter. He makes important sewing tools for me (does anyone else have 3 sleeveboards?). Whenever I am dithering about whether to buy fabric, he says, without exception, that I should definitely buy it, even if it is an internet purchase rather than the husband torture of waiting for me in a fabric shop. He is well trained in admiring seam matching and finicky topstitching, and can say "that fits really well" with an appropriate tone of voice.
You would think that when such an exemplary husband hints that he would like me to sew him something, I would jump right to it, but unfortunately this is not the case, as for some reason I find it quite difficult and non rewarding. I needed to read the
Yarn Harlot's Portable Love post today, very timely.
Here is some guilt induced sewing, Vogue 2836 trousers that took me 2 whole weeks!
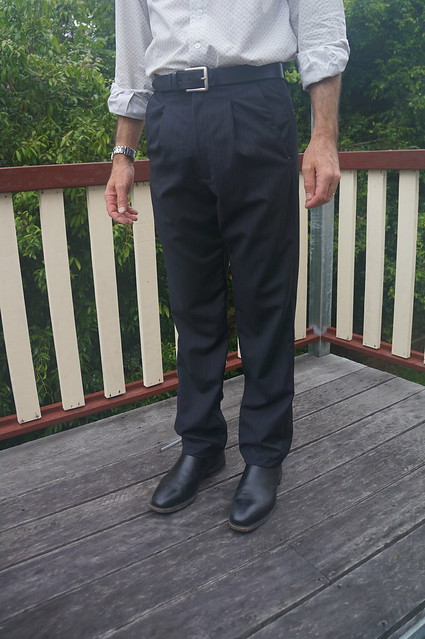
I am quite sure that the endless hiccups in the construction of these trousers are due to the
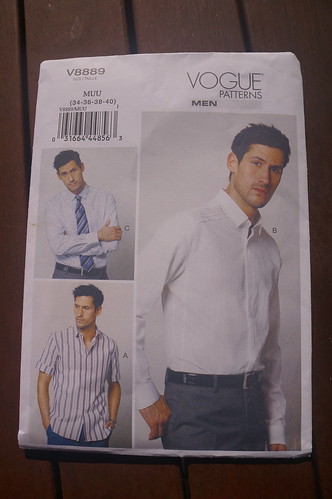
extremely selfish other side of my brain whispering to me about lovely patterns with frilly bits and colourful fabric. However, the dated cut of this currently in print Vogue pattern may also have something to do with it. Just after I bought this pattern, Vogue released some more men's patterns, and it is about time!
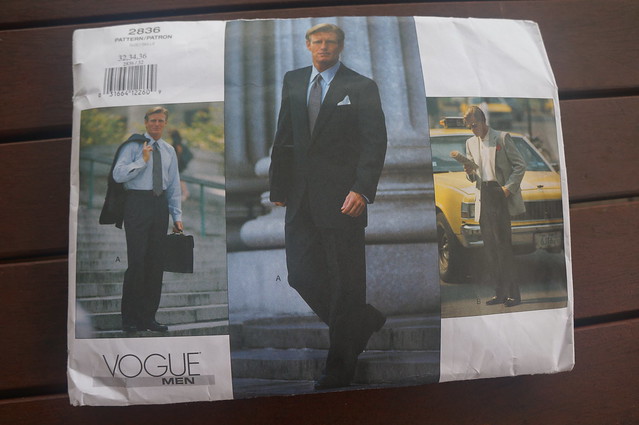
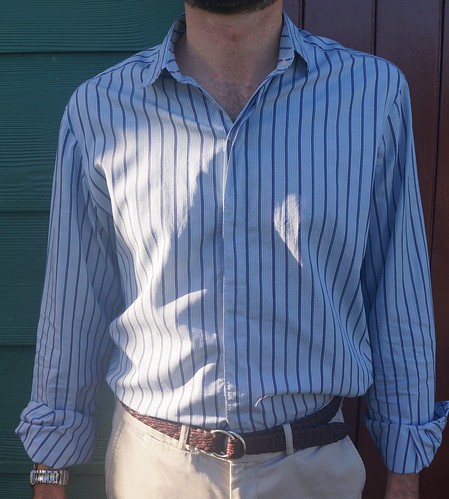
My husband will allow only limited measuring. I last measured him in November 2009, for the shirt pattern I use for him, and he felt this was not very long ago, so I had to pin him down with a coffee and breakfast for a waist and hip measurement. I was not allowed any other measurements. I then foolishly bought the pattern via the internet according to his waist measurement, thinking " men's trousers are sold in Australia by waist measurement", but all the Vogue men's patterns are sold by the chest measurement. Oops. I should read the hidden sizing information more carefully. The highest size in the pattern I had purchased turned out to be one size smaller than my husband's trouser measurements, so I graded up the pattern before making a toile. I now have an unfashionable suit pattern waiting for my 10 year old son to hit a 32" chest measurement, how useful!
The trousers were too big, other than at the waist. Clown pants were mentioned by someone. I regretted my wasted grading work.
I stitched down one of the front pleats and took in all the seams down to the next size, and modified approval of the fitting was granted, after I had raised the back centre seam and lowered the front seam. This convinced me that men's trouser fitting is nearly as horrible a process as women's trouser fitting, as my husband had appeared perfectly happy wearing RTW trousers for the 24 years I have known him.
I then traced out the smaller size trouser pattern, using a double tracing wheel and carbon paper, with the front pleat pleat folded out and the other adjustments, adding to the side seams above the hip and in the waistband.
There are 20 separate pattern pieces for these trousers, including 7 separate pattern pieces for the waistband and 3 for the fly. These are all directional and differently shaped and sized. Naturally I managed to trace out, cut out and interface the waistband and fly pieces in the opposite, womanly crossing direction.
Personally, I am not bothered by which way my trouser fly laps. On a fabric saving mission (
I thought I might get 2 pairs of trousers from the fabric), I sought clarification of the importance of this issue, I was informed in strong terms that a wrongly crossing fly is even worse than a wrongly crossing shirt front, which had previously involved non wearability of the item.
I traced, cut and interfaced these 10 pieces again.
One of the front trouser leg pieces looked strangely thin.
My tracing wheel had failed to impress on one of its wheels in tracing out this leg, and I had erroneously assumed that the missing line was the inner, stitching line.
I traced out and cut the front leg again. Fortunately I had a large piece of my beautiful quality wool fabric, although the 2 trouser plan was looking more precarious by the minute.
I thought longingly of whipping up a t-shirt, but resisted the urge and forged on with the trousers. I learnt some new-to-me, fiddly, but probably useful techniques for slant front pocket application. The instructions have you apply the outer fabric to sections of both the hip side and slant side of the pocket inner, so there is no lining showing if the pocket gapes on sitting down or squatting. This seems an expensive looking, and not too difficult, detail to me. The front and back pocket bags are both finished with french seams, which again seems a nice detail.
After all this pocket love at the front, I decided to follow the Vogue directions for the welt pocket opening at the back. This was a serious mistake, involving quite a bit of ripping out and eventually succumbing to shameful bar tacks at the short ends of the welt. I should have used
Ann Rowley's fabulous tutorial as I usually do. Vogue's instructions lacked appropriate measurement information (
you know my natural laziness made this attractive, but I have learnt my lesson AGAIN, I must be a slow learner) and have you do really difficult things, such as finishing the entire back inside pocket before making a buttonhole in the seat of the trousers instead of the much easier task of making the buttonhole before you have any interfering fabric in the way. (I did not slavishly follow Vogue in this instance) The illustrations were fuzzy, so that when there were wonderful instructions such as "edgestitch where shown" I had no idea to which area the instructions were referring. After finishing one of the pockets, on the left hand side, I abandoned all idea of a second pocket, as despite Vogue's illustrations showing 2 pockets, in the instructions it kept mentioning the left side only, and I have seen other men's trousers with a single pocket. I even congratulated myself at doing the "correct" side first. However, this feeling of cleverness was quickly quashed when my husband said he would prefer the single pocket on the right side, as he always uses the right pocket for his wallet. He seemed to think this had something to do with being left handed but I scorned this opinion and may have said something like "no way" when he asked for pocket 2. I was not feeling very compliant at this point. and suggested that he could manage to put his wallet in his pocket with his dominant hand fairly easily.

Despite my travails, I eventually finished the trousers.
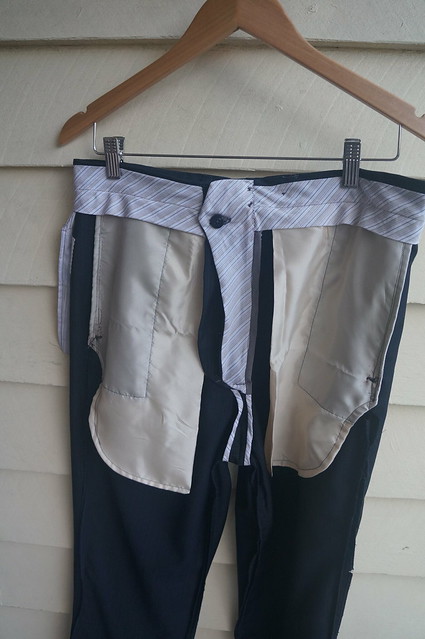
Here is evidence of the 7 piece waistband with lots of bias bits and 5 piece fly, which my husband assures me make the trousers more comfortable and sit nicely at the front. I quite liked the finishing tricks at the waistband - the folded over bias section at the inner base of the waistband is hand stitched to the waistband seam, so that the seam is completely hidden, and also lined by the waistband base. The outer waistband folds over for about 7mm to the inside, which prevents any peeping of the waist lining. The waistband is attached separately to the two back trouser pieces, then finished together with the trouser seat at the centre back seam, which allows for retrofitting. I had seen this before in my husband's more expensive RTW trousers, and find it quite useful for adjustments.
My husband's main criticism of the trousers is that the right belt carrier is too tight. It is the same length as the other carriers, but as it has to hold two layers of belt, I can see the problem. I am also not terribly happy with the topstitching appearance of the dark grey thread I used. This is the same colour as a subtle pinstripe in the black (tropical wool,
Michaels Fabrics) fabric, but shows up more than I like in the bartacks. I must get out a permanent marker and fix this little issue in a couture way in keeping with the rest of the construction ;). In restrospect, I am wondering if I should have lined the trousers, as the photographs look rather wrinkly - more so than in real life. If I develop any enthusiasm I may add lining later, but what a waste of my bias bound seams!
Stashbusting, 2.4m (approximate) of tropical wool, purchase 2011, with pocket lining woven polyester from approximately 1999, cotton shirting for waistband lining etc about 2009.
Verdict - Man sewing takes approximately 4x as long as I expect.