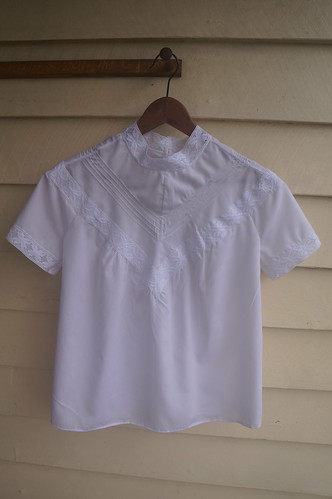
I rarely even look at Butterick Patterns, having previous poor experiences when sewing from them, but their marketing is working on me. I recently bought 2 patterns by Gertie, because I fancied the look of them when I saw them on
her blog.
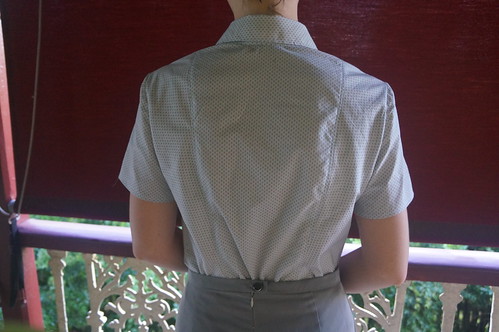
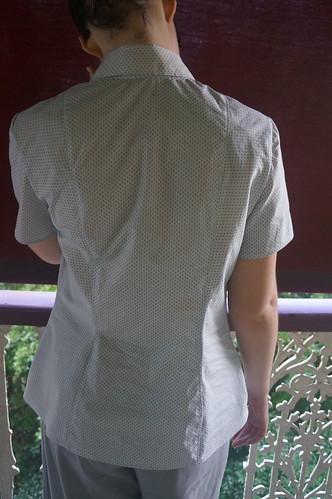
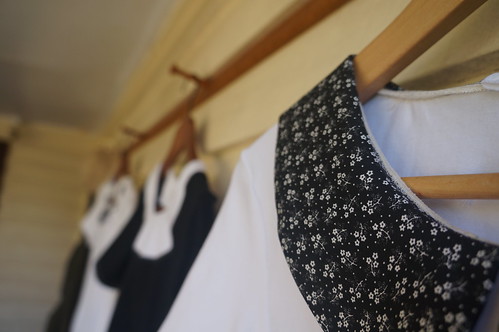
Today I made up the blouse from the seperates pattern B5895.
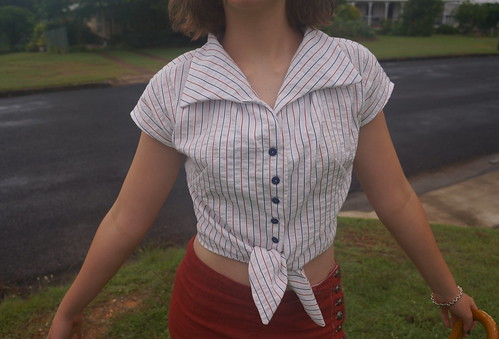
Not having sewn from Butterick for quite a while, I was very careful to inspect the provided measurements.
My daughter is a size 8 in Butterick, according to the envelope body measurements. That would be a bust measurement of 31 and 1/2 inches.
The finished garment measurement for this blouse (thoughtfully provided on the pattern tissue only, so you cannot check this before you buy the pattern) is 38 and 1/2 inches. That, dear readers, is a mere 7 inches of ease at the bust, which I do not believe is the ease shown in the garment worn by the model on the envelope, unless there is a large peg at the back which they are not showing us.
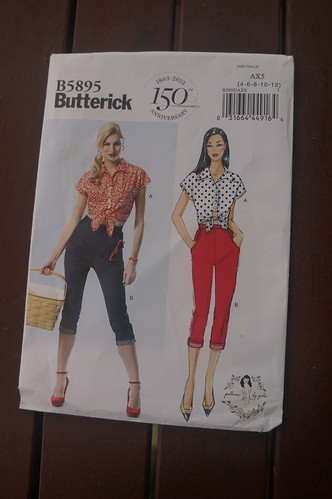
Feeling smug about catching this, I went on to look at the finished waist measurement, which is not provided. At a spot somewhere considerably above the waist a "width" measurement is given as 29 and 3/4 inches for size 8. I imagined that this meant circumference, and again is somewhere between 5 and 7 inches of ease.
Progressing, I read
Gertie's post about this garment, where she says that the model must be tall, as she had not intended the garment to be midriff baring. I guessed this meant the garment would end at the waist.
My daughter measures 42cm, neck to waist, and the size 8 garment finished length is given as 40cm, however, the smallest size in my envelope, size 4, with a finished bust measurement 5 inches over for my daughter's measurements, is only 39 cm in length.
According to the pattern envelope, there is no provision provided for above waist adjustment.
I took this as a challenge. This blouse was not going to fit straight out of the envelope.
However, Butterick is not joking about the provision for above waist adjustment. There is a french dart, a shoulder dart, and the collar is continuous from the front piece. Although this makes the garment a breeze to cut out, with only 3 pattern pieces, and no fiddly collar or sleeve insertion, it does make it tricky to adjust.
Did I get out my rulers, and start adjusting? No, I wanted to whip up a quick little top, so I fudged.
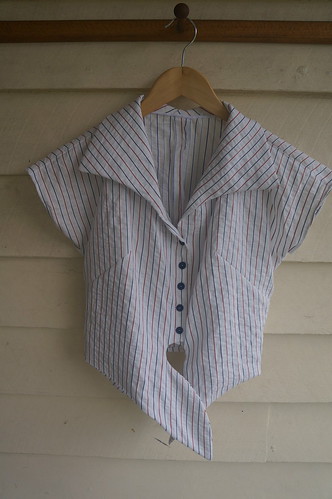
I cut out at size 4 width, and size 12 length, moving all darts to the size 12 position, and keeping all dots in the size 4 horizontal but size 12 vertical positions. I then added 1cm in length to the back , the buttoning centre front sections and the sides of the front, tapering to the ties. Although technically, I should do a small bust adjustment for my daughter, I did not feel that this would make a big change to the fit of the blouse, as there was so much ease already.
I changed a few things in the construction.
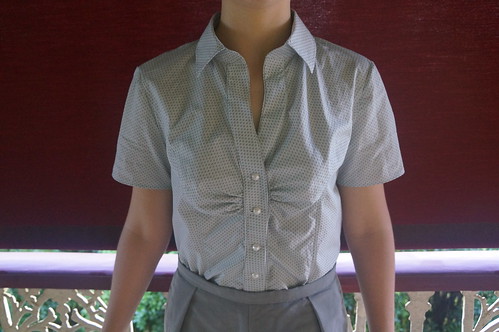
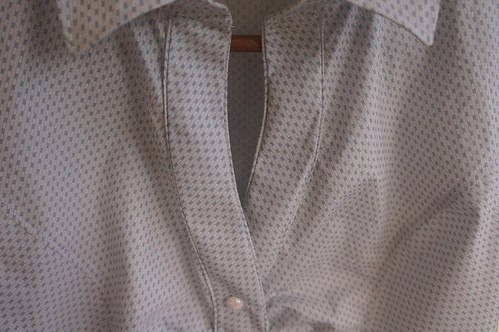
My fabric is a lovely cotton seersucker from Michael's Fabrics. I did not want to fuse the enormous front facings and collar as instructed by the pattern, as this would reduce the coolness of the fabric, and permanently set the seersucker puckering in a fashion I find unattractive. Instead I used cotton batiste as the interfacing, and sewed it right sides together with the inner edge of the front facing pieces, then turned, for a clean, breathable finish.
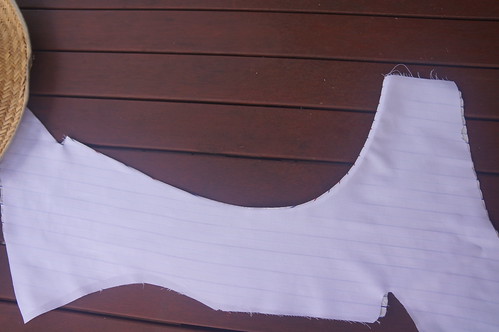
I found a slightly confusing , possible hiccup in the instructions. You are instructed to reinforce the upper fronts "to the small circle" and then clip to the small circle. Unfortunately, there are actually two small circles at the upper front, one on either leg of the shoulder dart (unsewn at this point), and there is no illustration distinguishing between the points. As clipping is a permanent change, I read this twice, then worked out that possibly the clipping instruction had been intended for after the shoulder dart was sewn, which would place both small circles directly over each other. Clipping to the circle furthest toward the shoulder is necessary for the collar construction.
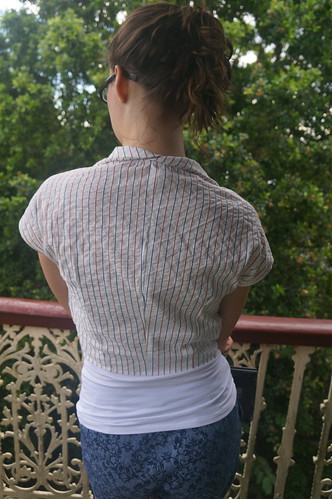
In size 4 width, the small circles mentioned above, that should match in all 3 pieces, only match if the garment edges do not. I guess this is fairly typical of big4 drafting.
At the inner shoulder seam, there are 6 layers of fabric including the interfacing. I found this a bit bulky, and chose to finish the back neck with a strip of bias batiste rather then the interfaced back neck facing piece. This was overstitched to the shoulder seam - still bulky, but sits better than the 8 layers of fabric and interfacing that would have been here had I turned under the back neck facing for a clean seam finish at this corner where all the garment pieces turn.
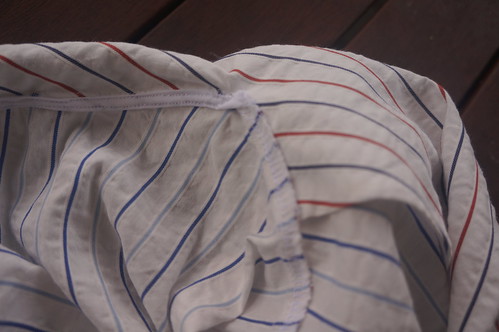
I
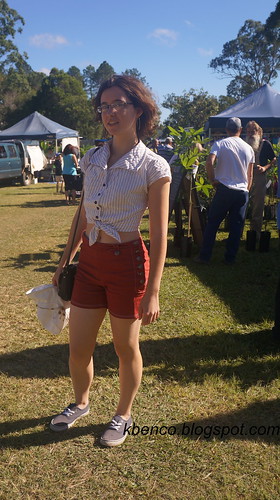
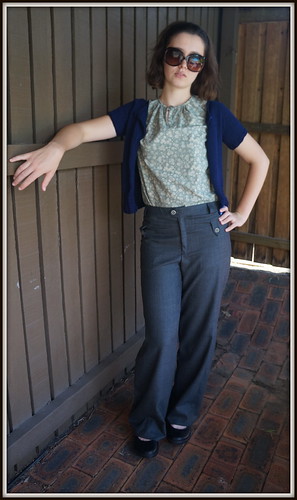
think this now fits in the way Gertie intended it to be worn.

This is a very cute little top. My daughter loves it.
Edited to add: Stashbusting statistics: 1.5m cotton seersucker, Michael's Fabrics 2012 about 0.5 m of cotton batiste 2009.