There are a lot of people who regularly sew for their sons. I am not one of them, being easily distracted by more-appealing-to-me feminine clothing. However, I often
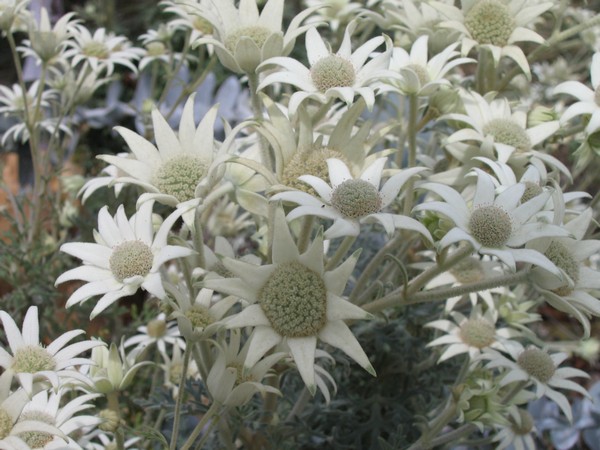
intend to sew for my son, sewing for someone being an expression of true love IMO, and when he goes fabric shopping with me (a thankfully rare occurrence, due to a fabric appreciation duration of approximately 5 minutes) he likes to pick out fabric for himself. He has a good eye for colour and loves a loud shirt print, which are quite fun to sew, really, once I get started. This fabric is a souvenir from New Zealand (January 2012 fantastic family holiday), being pure Kiwiana quilting cotton with a print of the endemic toi-toi.
Getting started on this fabric was quite tricky, because he has outgrown the largest size, + 2 uptracings of the shirt pattern I use for him. I got rather distracted whilst pursuing my Burdas for a boy's shirt, but after only half a dozen projects or so, came across this pattern in the October 2010 Burda.
Technical drawing from http://www.burdafashion.com/fr
This is not a boy's shirt pattern, but a shirt dress/tunic, but as it is just an elongated shirt, and thinking that 10 year old boys and girls do not differ greatly, I went ahead with it anyway, in size 140cm, this being correct in height and only a few cm too big in girth for my son - in the boy's sizes in Burda. I shortened the tunic by 10cm, according to the finished length desired, but made no other sizing changes.
The shirt does fit, but rather too perfectly for a new item for growing child, which is entirely my fault. Apparently 140cm boys are about 4cm thicker in girth than size 140cm girls, according to Burda, and I should have made him the next size up in the girls' size. Fortunately he is slim for his height, in an entirely masculine way of course ;).
You can see that I have made a few adaptations to the pattern.
I shortened the sleeves, for more use in a subtropical climate (also arms grow very quickly out of long sleeves with cuffs), and used contrast fabric for the inner collar stand, inner yoke, and added to the top of the pocket. I constructed the lined yoke by machine using
this method. For the front placket, I used a 3 layer cut on folding technique as described in David Page Coffin's book
Shirtmaking. I did not try to match any of the pattern, other than cutting with nap, and cutting the fronts so that the pattern lined up horizontally.
I also used a fancy topstitching pattern of 3 stitches alternating with a single stitch, as I did not want the topstitching to be lost in the loud print.
I like the contrast details, and although he looks rather grim in the photographs, I believe this has mild garment approval from the recipient.
This is another item for the
February Stashbusting Challenge, using 1.2m of stash. Unfortunately there are some rather large scraps which I am putting straight into a bag for my quilting mother. There, gone!