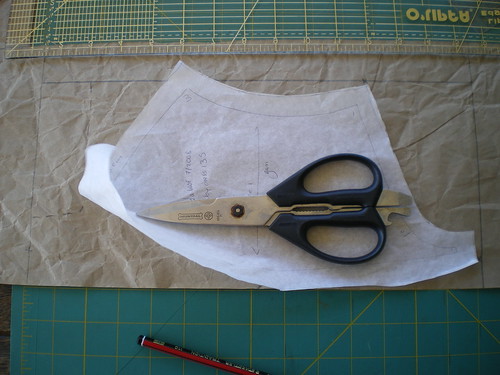
First I used the front dress piece, which is cut on the fold. I marked the widest part of the hem, the lowest part of the hem, and both the lowest and highest point of the neck. I then ruled straight lines from each of these points to make a rectangle. I used both the high and low points of the neck, as I will later ensure that the smocking includes both of these points.
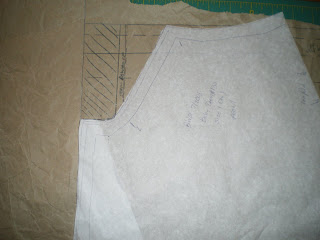
Next I pivoted the Burda front piece so that their side seam was on my new side seam (actually on the seam allowance, but this will not make a difference, as the seam allowance is the same on both pieces). I used the height of the raglan seam and the lower curve of this seam to draw a new armhole curve. The part of the curve that will be smocked is now on the straight of grain. The depth of this armhole looks much smaller than the Burda pattern. This is O.K., the manipulation of the fabric will give plenty of room for the arm.
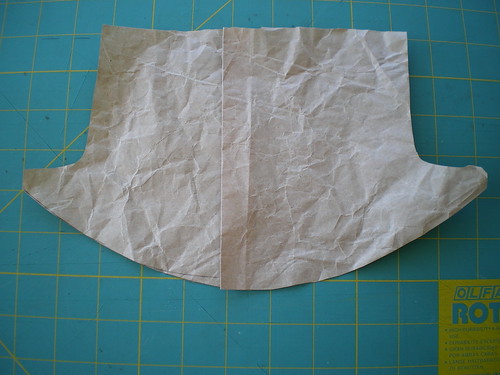
Here you can see the difference between the 2 pieces. The shaded area will be cut out. You can see that there is a lot more fabric in the bodice region.
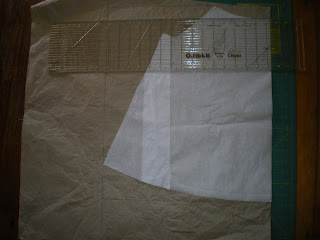
I have done the same thing to the sleeve piece. The armhole curve used is the same as that I used at the front.

Because the sleeve is an angel wing shape, I have kept a curved hem here. I drew a new curve after straightening the neckline grain as shown in the first sleeve photograph. In a batiste, the sleeve would still form a wing with a straight hem, as the fabric is light, and the pleats can hold it out, but I think the quilting cotton may need a bit of extra insurance to avoid drooping. After I have constructed my version of the dress, I will consider whether the dress hem needs a curve or not. At this point, I tend to think not.

I actually took these photographs of the size 1 Burda dress, thinking I could spread these dresses amongst my nieces, but then realized that I should make another size 3 months dress to provide a more clear comparison. I repeated these steps for the size 3 month pattern. These pieces are smaller. However, after making the new pattern (The back of the new pattern is the same as the front, except for adding an extra inch for the button placket). I measured the neckline template and compared it to the new width of the pattern. It was now over 3x the width, which is more than I need for the smocking. I removed 3 inches from the width of the front and the back pattern pieces, and 1 inch from the sleeve pattern pieces. Fortuitously, this means that I now only need the length of the dress + the length of the sleeve for the size 3 month dress, as I can now fit both front and back pattern pieces on a 114cm standard width of quilting cotton.
As I have now added this post to the tutorial link on my side bar, you may be interested to see both the dress I made using the Burda pattern and the version made using the alterations I have outlined in the tutorials


No comments:
Post a Comment