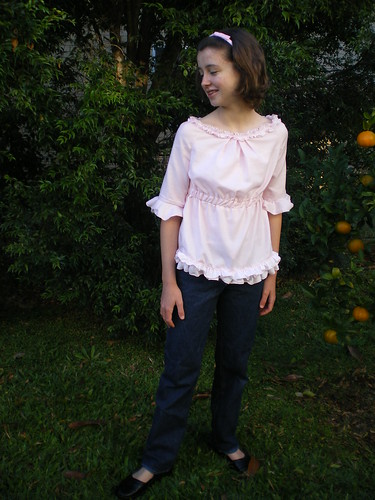
 I made this top for my daughter after Lyra posted at Stitcher's Guild about the inspiration for a raglan sleeve dress with ruffles that she had made for her niece. It seemed to me, that I could modify the bishop style chemise I had recently drafted in order to make a similar top for my daughter. I was very anxious to make something girly after all that black and grey polar fleece man and boy sewing, and even more anxious to have a rest from the fitting issues with the V7903 blouse. The wonderful thing about drafting in this draping manner is that the garment has to fit, and the even better thing about this style of top is that it is supposed to be loose.
 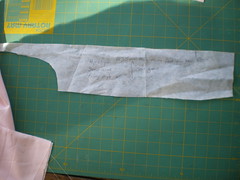 This is the "pattern piece" I have drawn after measuring my daughter and deciding how loose the sleeve should be, and where I want the neckline to sit.
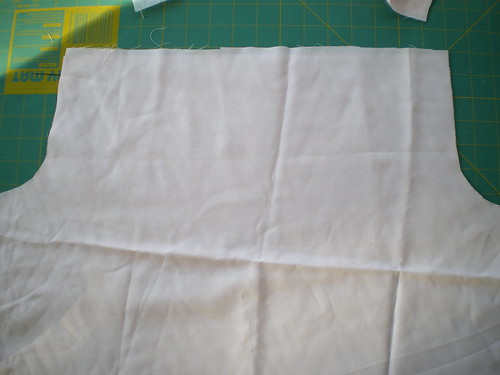 Above are the two main pattern pieces, front and back are the same, and the sleeves have the same curve, but are more narrow.
 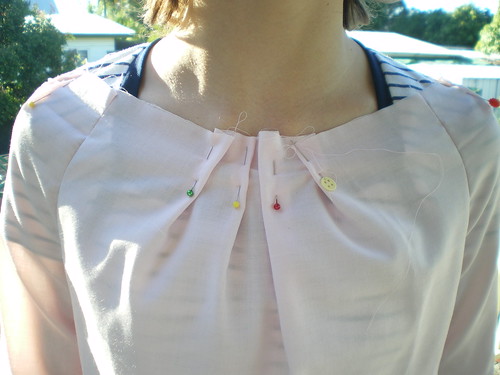 I sewed these pattern pieces together as a first step. To make the garment fit, I added inverted pleats to the front, back and sleeves, centring the pleats in each piece of fabric. I draped this directly on my daughter (the t shirt is so there can be photographs). Now Blogger does not want me to post any more photos, so I will describe the rest.
I marked where we wanted to gather the garment below the bust whilst the garment was on my daughter. I wanted this to be very simple to construct, so made sure that she could pull it off over her head before basting the pleats. I added the casing for elastic first, it is around the lower ribs for an modified empire line effect, rather than a maternity look.
Next I bound the neckline with self bias binding. I stretched this slightly as I applied it.
The next step was to add the ruffles. The main garment pieces are made of a lightweight cotton twill, but I was fortunate enough to have imperial batiste (65%cotton, 35%poly) in the same shade, which made the ruffles more delicate. I cut a series of wide bias strips, length 3x the diameter of the blouse for the bottom ruffles, and one narrow strip, 3x the diameter of the neckline, for the ruffle here. I stitched the pieces together in a large circle for the top and for the bottom, then finished all the edges with my new rolled hem foot on my overlocker. This is the first time I have used it and it was terrific!
For the hem ruffle, I gathered the ruffle twice. First I ran two rows of gathering stitches down the center of the bias strip, and pulled them up to roughly the diameter needed, then I ran another gathering thread 2/3 of the way across the strip, pulled this up as well, and used this row as the fold point to make a double ruffle. I then stitched the ruffle to the underneath of the rolled edge garment hem. The double gathering makes the ruffles look as if they have been attached independently, and this also gives a more sticking out effect.
For the neck, I gathered down the centre of the strip, and stitched to the seam line of the bias binding.
For the sleeve frill, I cut a circle, with the middle cut out to the sleeve diameter less seam allowance. These edges are finished with the rolled hem too. I did not want another gathered ruffle at the sleeve hem, as it is already a real Meringue top!
No comments:
Post a Comment