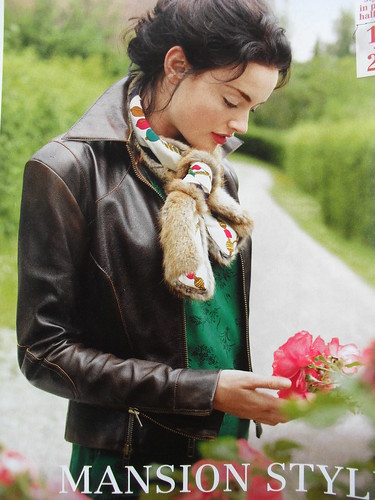
In June, I bought the skins, then ordered zips from the USA for this pattern( zipsnot available in Australia at this length, in any colour with bronzed metal teeth apparently), Burda Style 10-2009-126.
I had done nothing about it since. Sometimes delaying for a parcel can ruin the sewing stride.
After tidying my sewing room from the aftermath of production Christmas sewing, I finally started on this project. It was about 3 layers down on the "I want to make this" pile, and suddenly appeared very attractive.
I hadn't tidied in there for a while.
Today I finished the denim version of the jacket.
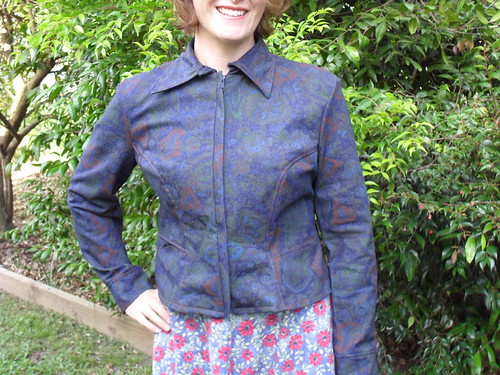
Unfortunately it was nearly 6pm when my daughter took the photos, so you will have to put up with the crooked collar and terrible lighting. I promise that the collar stands up properly when put on properly. I am very keen to write all about the lovely time I had with topstitching and binding the seams, and can't wait for better photos tomorrow. I hope you forgive me for being more interested in sewing than photos.

I am starting ahead of myself. I am rather nervous about sewing a leather jacket.
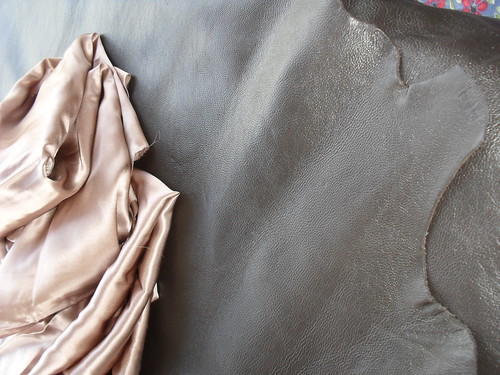
The first thing I did, before buying the leather, was to trace out all the pieces so that I could lay them out in a single layer on the leather at the tannery shop (Packers Tannery, Nerangba) - no cutting on the fold for leather, and separate pieces for each side. I seem to have enough skins for the jacket. This might also be because I bought 3 more than required by the pattern I did not feel comfortable about getting out my pattern pieces at the tannery.
Next( ie, this week) I made my normal Burda pattern alterations - FBA, and large biceps adjustment. I did not make a square shoulder adjustment, as the pattern calls for shoulder pads, nor did I take in the waist, thinking that a jacket might need more ease.
The pattern is a petite, but I did not alter for length, as the finished jacket length provided seemed just right, at 50cm, and I had not tried a Burda petite pattern previously.
I made a toile in calico, butting several of the front pieces together to make this quicker.
I was mostly pleased with the fit

The main issue was that I had trouble raising my arms.
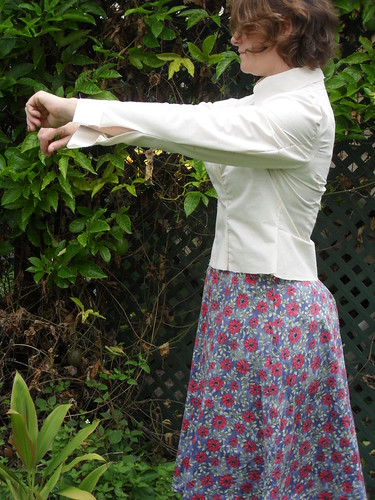
I addressed this in the denim version by adding 1cm to the side and undersleeve seams, then taking in the waist a smidgeon (technical term)
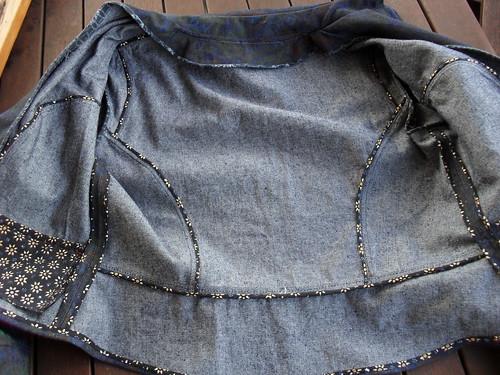
I had the best fun with the inside finishing. See my bound seams?
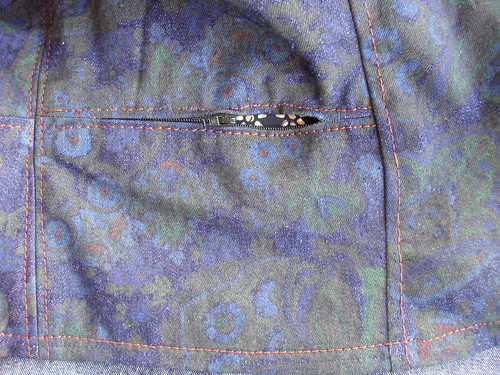
I also added an in-seam zip pocket, just credit card size.
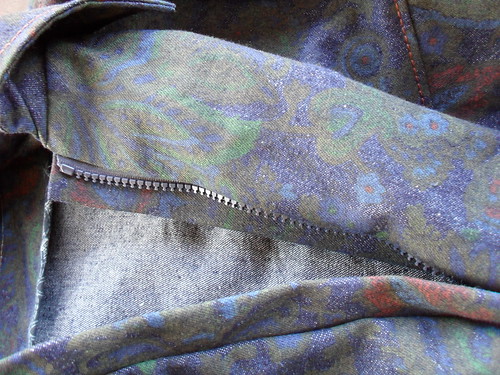
I added a covering placket and inner shield for the zip.
The pattern calls for single lapped seams and raw edges throughout. I wanted to mimic the construction as preparation for my leather version, so although using normal seams, I topstitched most of them as if they were lapped, and made the whole garment without using pins.
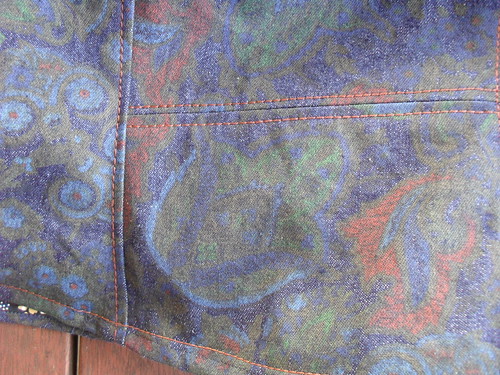
I used my hand cranked Singer 28 and jeans thread for the topstitching. I had a bit of trouble with it at first (that would be the awful topstitching around the in seam zipper pocket) but had no issues at all once I found a size 110 needle. Even a size 100 needle kept the thread snapping.
I am really excited about the next version. I plan to start it tomorrow, wish me luck!

13 comments:
Your jacket has some wonderful detailed seams and what a great idea to make the denim version without using pins as this is the part that will do my head in. Looking forward to seeing the leather version, enjoy the journey.
What a way to start 2012, Happy New Year.
You are a brave woman. I'm impressed that you'd attempt leather, I'm too much of a coward. I like the way this project has worked it's way to the top of the pile. The denim version is great and I know the leather version will be wonderful. Thanks for all the inspiration and support you've given me this year. Happy 2012!
I really like this pattern and your denim version looks great! Good luck with the leather
Wonderful!! I've loved this style since I got that issue, but been afraid of the leather. I never thought to do it in denim. It looks great!
Ah leather - it will be fine - you have done EVERYTHING that can be done to prepare yourself - made a test garment using the same construction techniques - (you are going to use a leather needle on the final version though aren't you??? - leather needles are really sturdy to ensure the skin gets pierced but not too large to leave a big hole with every stitch).
Sewing leather is very easy - it's just the fear factor of no mistakes that gets us all.
I can't wait to see your final version I'm sure you'll rock it.
Out of curiousity - isn't it very warm where you live? When will you actually get to wear this master piece? Last night was so hot and humid here I really struggled for the first time this summer to sleep well.
Good Luck! I am sure you won't need it though - as Mary Nanna says leather is remarkably easy to sew! I always use a teflon foot on leather, and if you need to use pins you could try paper clips.
Happy New Year!
This is gonna be awesome! Can't wait to watch it shape up!
Ditto on what Mary Nanna and Sherry said. No need to be intimidated by leather. With a great looking denim jacket "muslin" and your sewing experience, you are all set and ready to go. Enjoy the process!
I look forward to seeing your beautiful jacket.
Wow. A leather jacket; very impressive! I looove the denim version too, and really enjoyed seeing the bound seams and topstitching details! Congratulations on successfully trialling a complex looking pattern without the use of pins. I've never attempted leather and it sounds scary...
I can't wait to see the next version!
Best wishes for a fantastic 2012!
I'm in awe with your detailing. This is a great pattern and you've nailed the fit with the denim version. Can't wait for the leather version.
Happy New Year.
I love your jacket! Can't wait to see the leather version. Good luck with it!
Oh baby is this gonna be an awesome jacket! Good luck!
Post a Comment