I've written about some of the construction earlier:
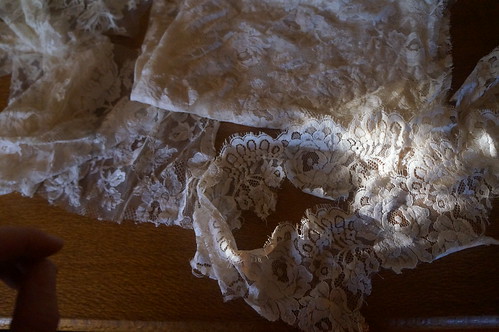
dying lace
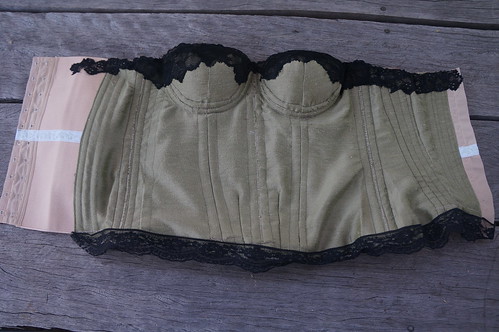
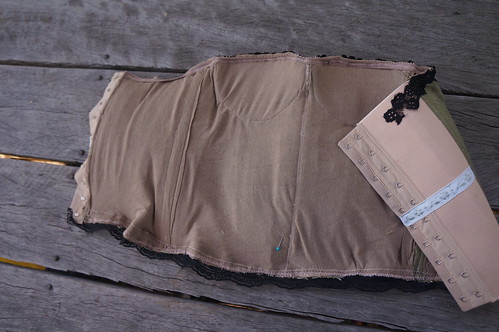
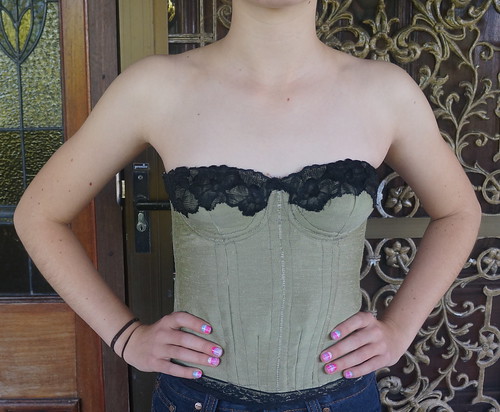
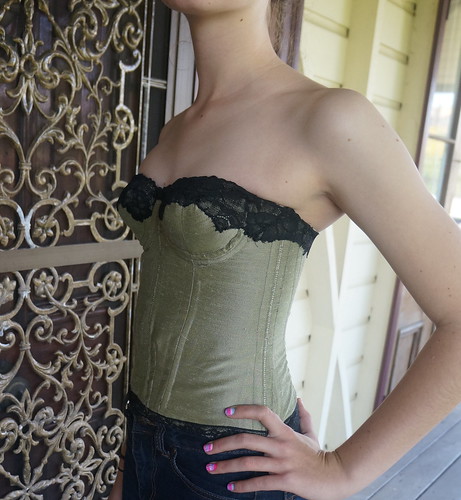
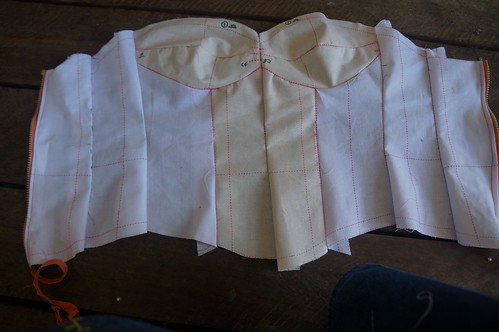
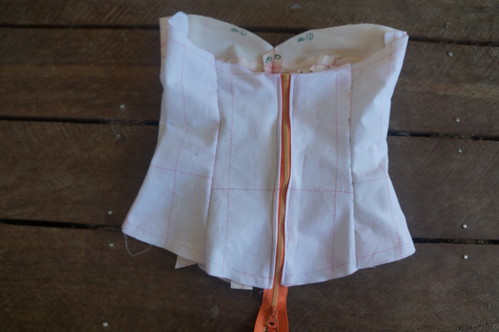
underpinnings
day version
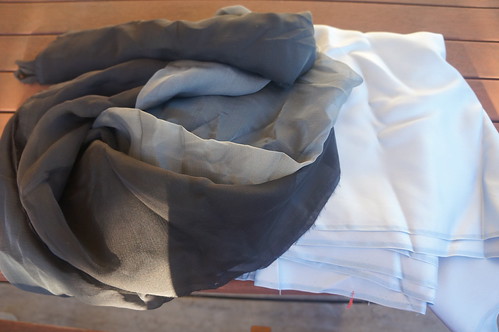
The basic construction of the frock was relatively straightforward after the trial versions. I made a silk twill layer with cotton batiste lining at the bodice, and a silk chiffon outer layer. These layers were constructed with the silk chiffon layer and outer silk twill layer as a single fabric, with the bodice neckline attached right sides together to the batiste lining for a neat upper edge finish.
The skirts were basted together at the waistline with a selvage stay of silk organza, I hung the basted skirt up for several
The hand applique was the most time consuming part of the project, taking approximately 30 hours. It looks pretty good even close up. My daughter really wanted a soft flowing skirt, hence the silk chiffon, in retrospect, hand applique on silk chiffon was not my cleverest idea, but I could not think of another method of attaining the soft flowing skirt with the lace applique she wanted. The inspiration dress had lace machine appliqued on organza and tulle, which would be much less time consuming!
Inside, all the seams are tacked to the silk organza underlining.
Unfortunately, I had a little trouble with the upper bodice, despite all the fitting work on earlier versions. After adding the lace applique, the added stiffness of the fabric make the neckline stand away from the body, which was not at all modest. After considerable trial and error, some of which may have been slightly fraught, this was fixed by first gathering the upper front bodice by hand, slightly, through the bottom two layers of fabric , then machine stitching lingerie elastic, on stretch, to the upper border of the bodice to draw the sweetheart neckline in towards the body.
This adjusted upper bodice was then stitched to the inner corselet at the centre front neckline.
My other fitting adjustment was very last minute. In a not entirely unexpected manner, my finishing-her-exams- for- year- 12 daughter somehow managed to reduce her overall circumference by about an inch in the last two weeks of school. Fortunately the corselet was originally fitted on the outer fastenings, so on the afternoon of her formal I sewed the back of the dress by hand to the back of the more tightly fastened foundation, gathering rather more than slightly. I may have spoken sternly to my daughter about increasing her ice cream intake and decreasing her exercise regime whilst I did this.
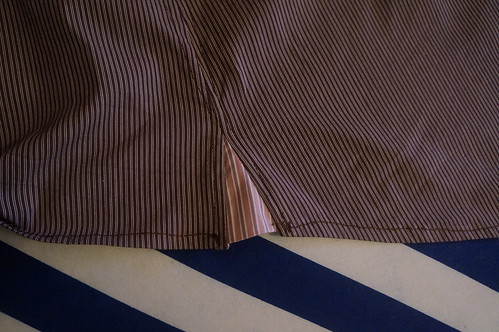
The other effort of note was the hem.
My daughter is petite. This was just as well, as she wanted a full length 1/2 circle skirt from a narrow width of silk twill, 114cm (The Fabric Store, Auckland).
We could not quite manage this, until she came up with a brilliant idea of a nod to the current high/low hem fashion. She chose to have a higher curved hem in front, of the inner fabric only, to both accomodate the narrow fabric, and also to display her pretty sandals.
I am hoping this dress gets another outing at a University Ball or even two.