I've made a couple of formal dresses before, but somehow, this is turning into one of my most technically challenging projects. Most of this is self inflicted! Some of my blogging absence has been due to a lot of unblogworthy thinking and planning time. (The rest was knitting.....)
Most strapless dresses need a foundation to prevent wearing malfunctions. For my older daughter's formal dress, also strapless, I made a
traditional princess line bodice foundation, based on Claire Shaeffer's somewhat scanty instructions in
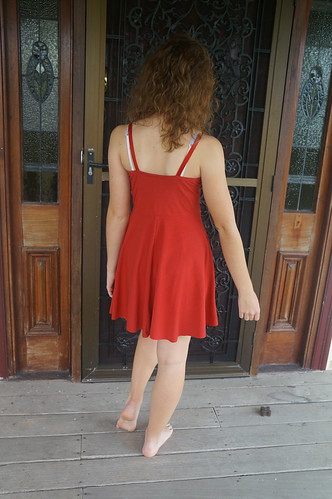
Couture Sewing Techniques, and was happy with it. However, daughter the second has a more curvaceous figure, and more exacting requirements, and wanted more shape and structure in the bust of her foundation to emphasise the sweetheart neckline of her dress. She wanted something more like a long line bra or corselet.
Unfortunately, the bust section of the
Burda bustier toile I made earlier was not at all flattering, nor supportive. I decided to add bra like cups and bridge to the bustier, for more structure,and went looking for either my Kwik Sew bra pattern, or my Leanne Burgess bra making book. 2 days later, my pattern collection and fabric cupboard were unaturally tidy, and I was forced to realise that I had carefully put all my lingerie sewing references in a Safe Place, from where they would only emerge again when they were not immediately required.
My long suffering family (one of whom suggested that I
buy a corset!) was greatly relieved that I was rescued by Kristina Shin's
Patternmaking for Underwear Design, a book that has been lurking on my sewing shelf since Christmas, after my inital perusal filled me with disappointment. I had bought it with the intention of drafting myself a bra pattern, but the only bra drafting instructions in the book are for a 75B, which fits no one in our house, and the measurements for each drafted line are given within the instructions, with no tables for any other sizes, making the usefullness of the bra instructions quite limited - but we decided to increase the cup size of the foundation for illusionary purposes, and decided the given cup size of 75B would do for the size 34-taken in bustier, with a bit of discreet curve enhancement.
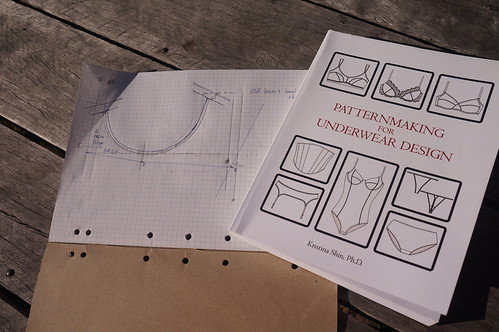
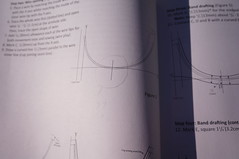
I drafted a 3 part T cup underwire bra cup and bridge, following the instructions without undue difficulty (although having 2 unlabeled markings that were only identifiable by reading two separate earlier chapters of the book was annoying, as was the tendency to constantly refer back to the basic bra block- which uses the same letters as point markers as the 3 part cup, only in completely different places!).
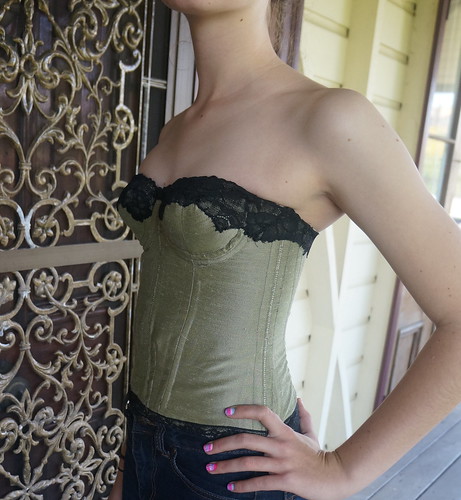
This was not quite the shape we wanted, so I then rotated and split the lower cup and drafted an upper cup to fit a slightly higher bridge and not require a strap - a shape that is not given in Shin's book.
The cup was larger than expected, despite being cut out in a woven rather than a knit, as assumed in the instructions. This could have been operator error and was fixed with a bit of trial and error trimming. Fortunately I do not plan to make a lot of these garments in the illusionary size.
I used foam bra lining (cut out and pieced to fit from an existing bra, and added a small "fillet" made from 2 layers of cotton/wool quilting batting to the lower third of each cup. The "pad" or "cookie" shape given in Shin's book was not the correct size nor shape for the cups, so this was again made by trial and error.
As the upper cup was still too large, and we did not want excessive padding, I applied 3 rows of shirring elastic by
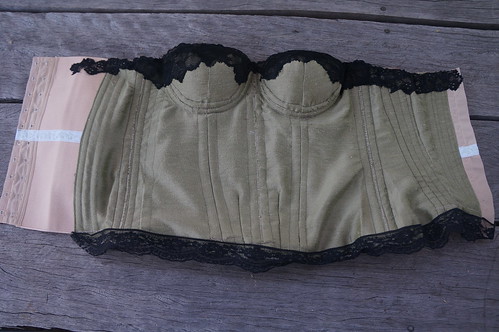
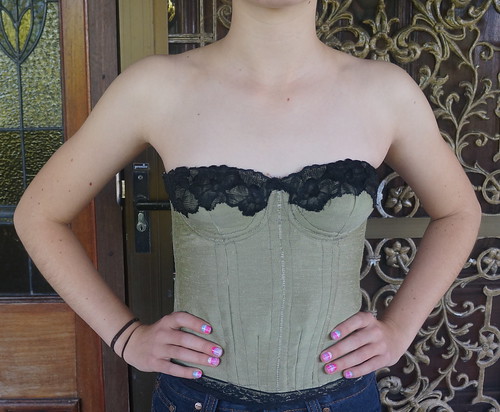
this method through the outer cup fabric and foam lining at the top of each cup and gathered these to fit. Although producing the desired effect, this looked rather messy, so I lined the corset with a rayon knit (I draped this over the finished outer corselet and cut to fit - much easier than applying all the fitting changes from the woven outer pieces to a woven lining)
The entire upper border of the corselet is finished with slightly stretched lingerie elastic for added security. I hand appliqued a stretch lace to the upper cups to cover the shirring (this is practice for the actual dress), and also to most of the upper border of the remaining corselet because it looked pretty.
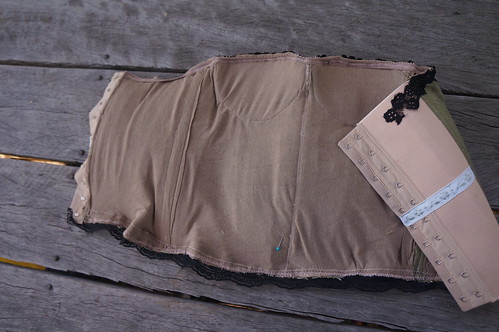
The remainder of the construction was much more straightforward. Each vertical seam is boned with rigeline on both sides of the seam. The outer fabric is a firm weave silk (from my grandmother's silk painting supplies), and the underlining is silk organza. The boning casing is herringbone weave linen.
As it is still 9 weeks to the wearing of the dress, I wanted to allow some room for girth changes. so I used a
commercial elastic fastening (Prym) instead of the right centre back section . As you can see, I actually used two of these, as the fastening is designed for a long line bra. The two fastenings are abutted, joined with zigzag stitch, and a ribbon applied over the seam for prettiness (she doesn't need the stretch at the waist). I chose to fit at the wider of the two hook and eye loops as my daughter tends to lose weight when under stress, and is currently
finishing her final year at school, with constant assignments and exams. If the opposite occurs, well there is a bit of stretch in the elastic ;).
The lower border of the corset is zigzagged to attach all the layers, then non stretch lace was applied to cover the zigzagging. I did not want to add bulk with a hem or binding.
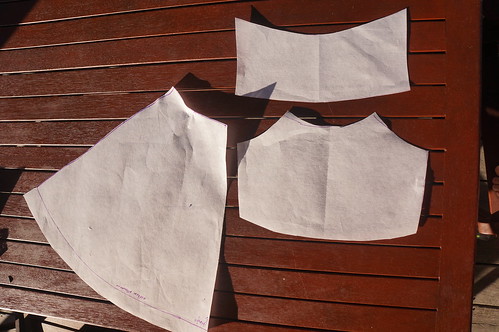
The finished foundation met with approval, and I am well into the next stage of the dress.