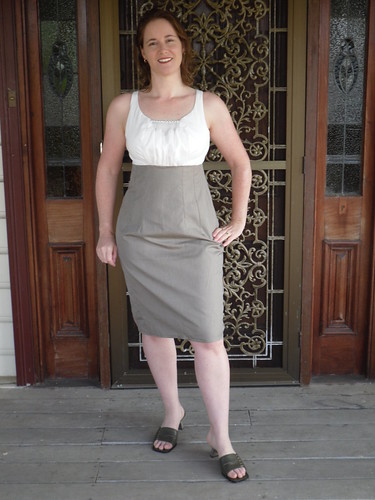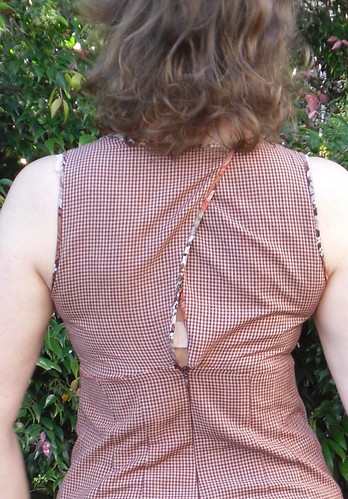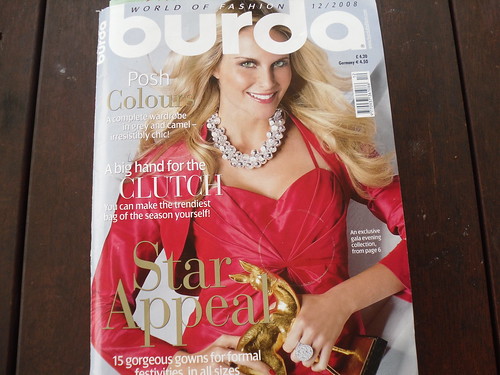
I have made this previously, for my daughter, and it did not suit her as much as the 2009 pattern, but our figures are quite different, so I had no trepidation about trying it for myself.
This pattern has a cross over bodice, which is usually quite a good style for me.
I made a rough and ready full bust adjustment,
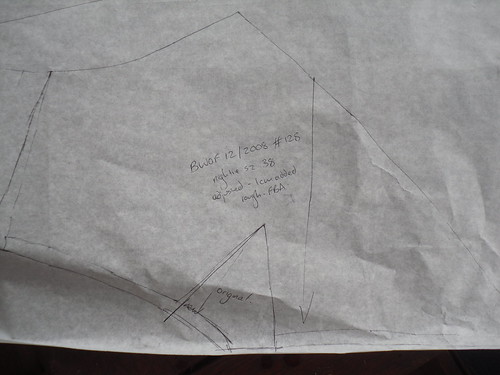
but otherwise made the pattern up as drafted, top size 38, hips size 40.
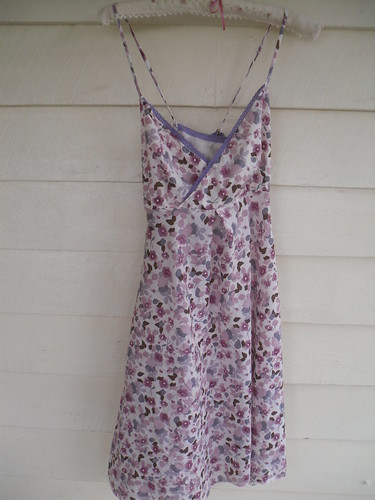
There were a few fitting issues.
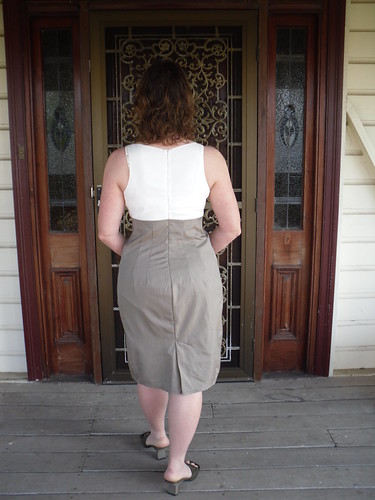
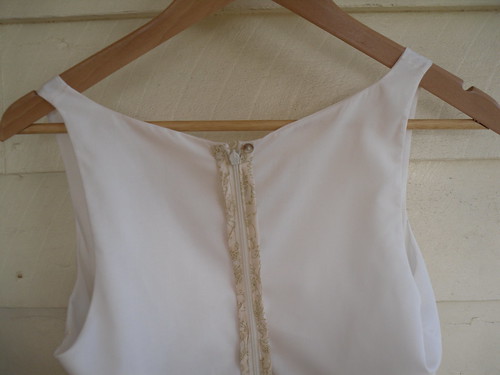
1.The back of the nightie has peaks to which the straps are attached. This was a problem for me, as I often angle straps to attach more centrally at the back to prevent straps falling off my shoulders. Instead I had to cross the straps over at the back so that the straps would behave themselves. If I was to make it again, I would cut out the back as a straight band.
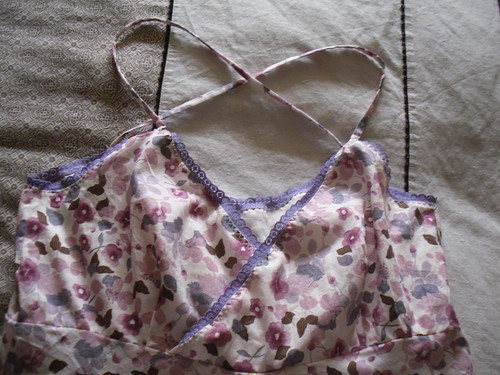
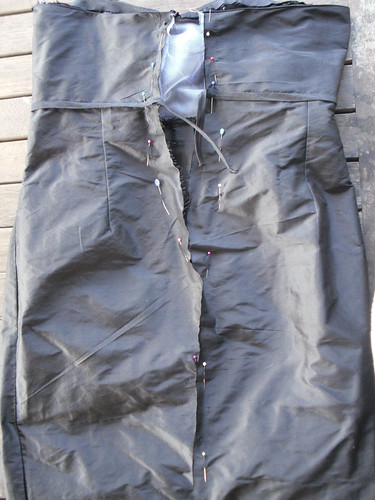
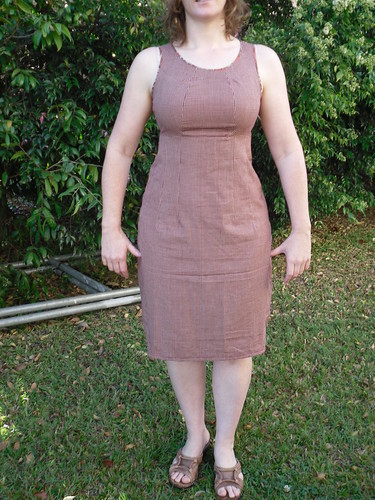
2. The bodice was too wide. I crossed over the front bodice pieces further to fix this, and then needed to add a central inverted pleat to the front skirt. For the back bodice, I used a shorter piece of elastic in the bodice seam, and also stretched the upper border lace elastic when applying it to the back. This helped a bit, but if I were to make the nightie again, I would use a smaller size for the back bodice and take in the skirt at the empire line bodice seam.
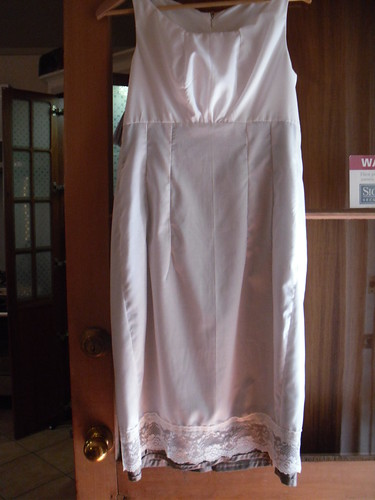
3. The nightie was not a flattering length on me - about 7 cm below the knee. I shortened it to knee length.
Construction was not very difficult, and the nightie is the sewing lesson for this issue of the magazine, but I made some changes.
1. I used the overlocker to make the thin straps. It is very easy to turn these if you start by making a long chain,
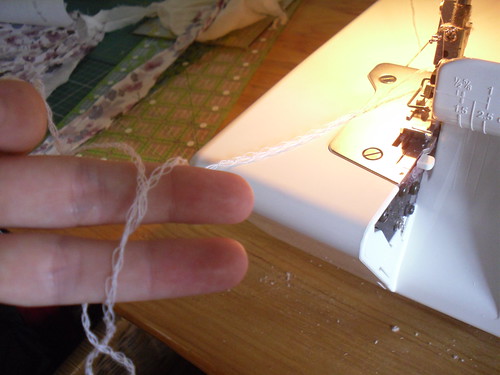
then place this chain inside the folded strap piece. I used a 3 needle regular stitch, lining up the outside edge of the foot with the folded
edge,
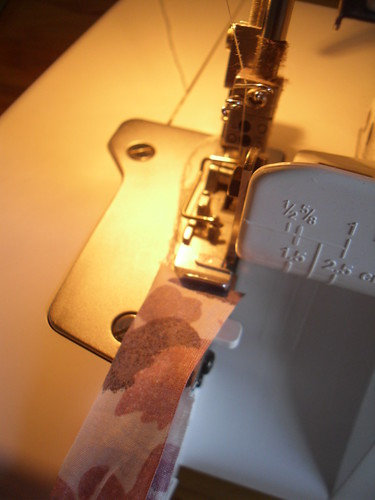
then turned the strap by pulling the chain through.
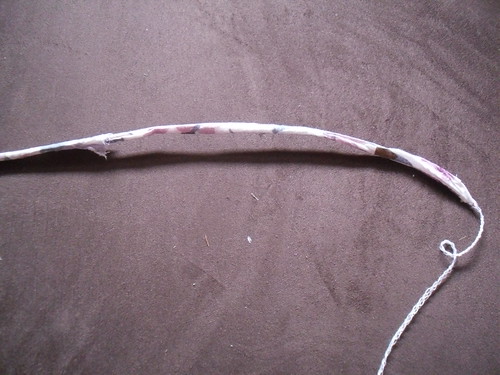
This is far quicker than using a darning needle as described in the Burda instructions.
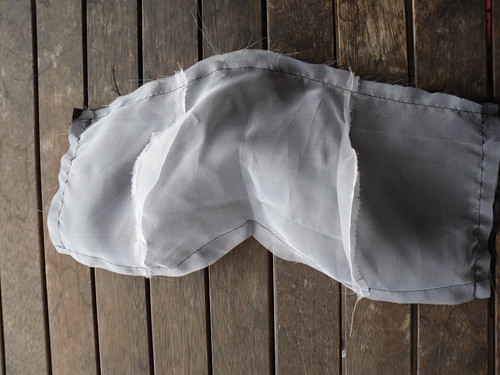
2. I used the 3 needle rolled hem on the overlocker again to stitch the darts and the side seams in the silk-cotton batiste bodice lining. I did not do this for the outer fabric, as the cotton voile from Spotlight was much more coarse than the lining.
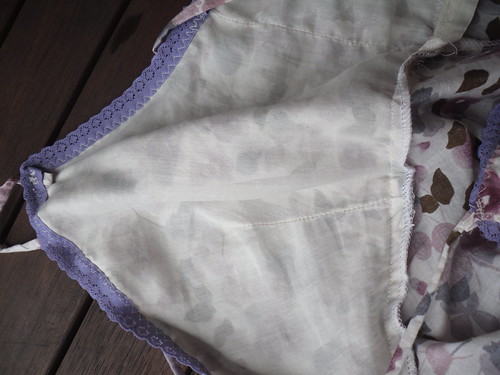
3. Burda instructs you to apply the neckline lingerie elastic to the outside. My lingerie elastic has a dull and boring edge at the bottom.
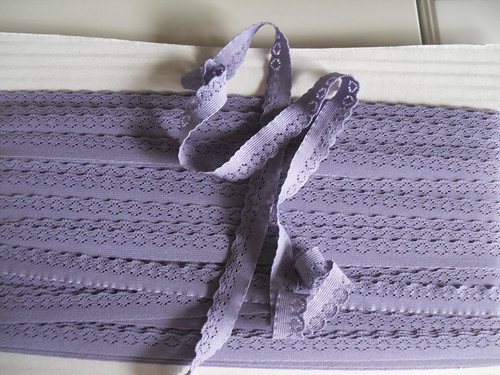
I chose to apply this to the inside. I used a 3-step zig-zag stitch (I have been reading my machine manual - apparently this has more stretch than a regular zig-zag) and sewed from the right side. I stretched the elastic quite a bit at the back, and very slightly across the cups at the front to improve the fit.
I sewed the elastic to the inside edge with a straight stitch to prevent the edge poking out.

4. I attached the straps by sandwiching them between the outer fabric and lining. I then had to adjust them by folding the excess strap to the inside (my dressform let my down here). I tacked the mitred edges of the lingerie elastic to the straps to keep the elastic upright.
This nightie is OK, but I plan to stick to my tried and true 11-2009 version until some different pattern takes my fancy.
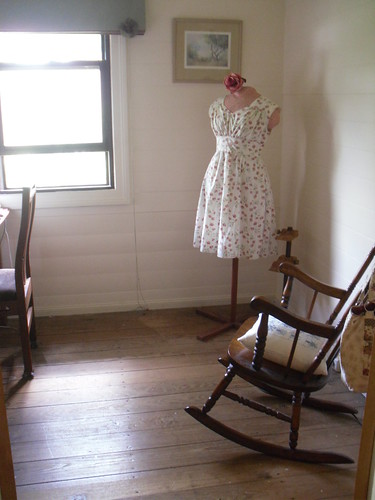
I have been working quite a bit on my sewing room, which is currently in a state of unnatural tidiness. I particularly like this photo which makes it look enormous (the room is 2.4m x 3m (just under 8 feet by 10 feet) - it has been converted from one end of the side verandah - what is known here as a sleep-out. I keep planning a show and tell post, but my husband is continuing to make adjustments. Currently I am in the fortunate position of waiting for a set of mirrors and a ceiling fan.